Have you just unpacked your new Celestron PowerSeeker 50az telescope and are feeling a bit lost about where to begin? Perhaps you’ve even lost the instruction pamphlet that comes with it!
Don’t sweat it!
Setting up this telescope for the first time can be intimidating, but fear not – you’ve come to the right place.
In this straightforward guide, I’ll walk you step-by-step through the entire assembly process.
I’ll share helpful tips and tricks I’ve learned from my own experience putting this scope together right out of the box.
Follow along as I take you through extending the tripod, attaching the accessory tray, mounting the optical tube, inserting the diagonal mirror, and adding the finder scope.
I’ll give clear instructions that align with Celestron’s recommended setup.
Before long, you’ll have your PowerSeeker 50az fully assembled and ready to start your journey viewing amazing sights across the solar system and beyond!
Just a few simple steps stand between you and celestial wonders.
Let’s get started!
How To Set Up The Celestron PowerSeeker 50AZ Telescope
Step One: Preparing The Tripod
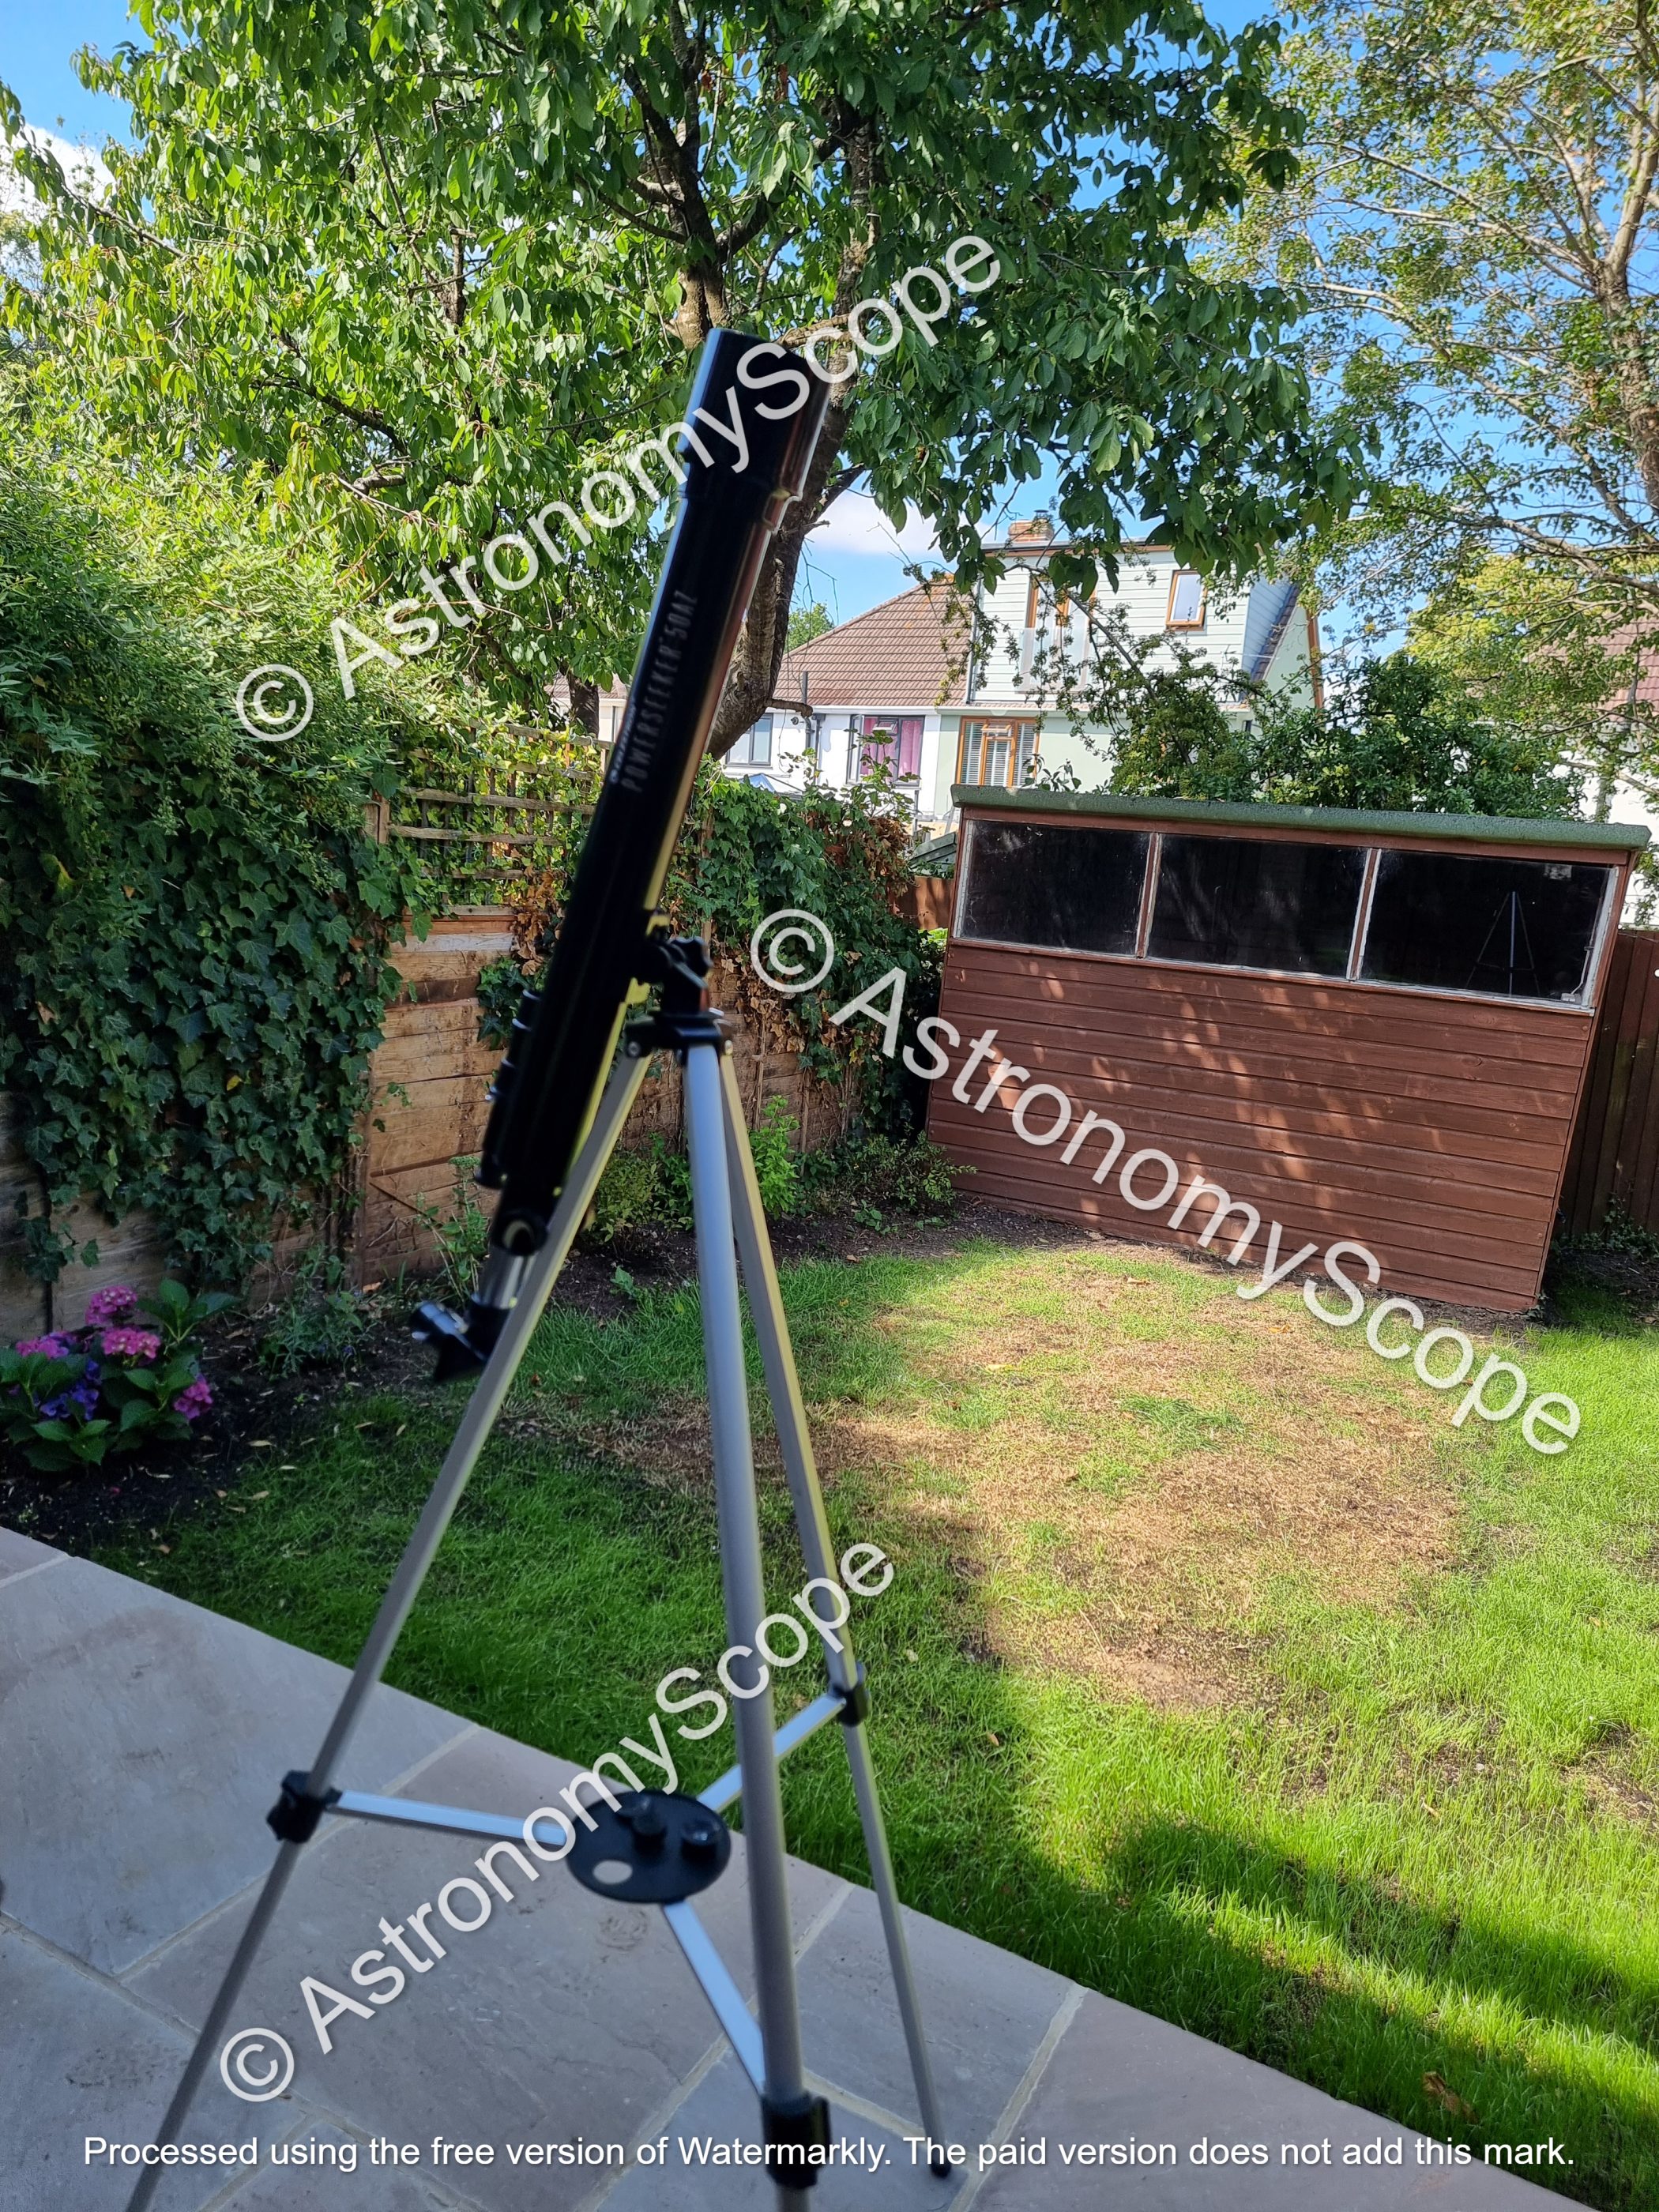
The aluminum tripod provides a stable base for the telescope. Start by fully extending each leg until it clicks into its locked position. Make sure all 3 legs are the same length to keep the tripod level.
Locate the leg locks about halfway down each leg. Unlock these so the legs can angle outward for better stability. Extend the legs fully and re-lock the clips.
Step Two: Attaching the Accessory Tray
An accessory tray adds a convenient shelf for eyepieces and other accessories. Remove the bolt from the bottom of the tray completely.
Place the tray top-side up onto the tripod head. You may need to rotate it to line up the bolt hole. When properly aligned, you’ll feel it click into place. Insert the bolt and tighten it to secure the tray.
Step Three: Mounting the Optical Tube
Now it’s time to attach the main telescope tube to the tripod. Unscrew and remove the bolt from the base of the optical tube.
Orient the tube so the bolt hole lines up with the threaded hole on the tripod head. Insert the bolt through the aligned holes. Tighten it with your fingers until snug.
Step Four: Adding the Finder Scope
A small finder scope mounts to the top of the main tube. It helps you locate objects to view in the higher-powered main telescope.
Remove the two nuts from the threaded posts on the tube. Set the finder scope into the J-shaped bracket, angled outward. Replace the nuts and tighten them to hold the finder scope securely.
Step Five: Inserting the Diagonal
The included 90 degree diagonal mirror bends the optical path, allowing you to observe from a comfortable viewing angle.
Loosen the two thumbscrews on the rear of the telescope tube. Remove the plastic end cap from the diagonal. Insert the diagonal into the tube opening and loosely tighten the thumbscrews.
Step Six: Adding Eyepieces
Different eyepieces let you adjust the magnification power. For starters, remove the end cap from one of the included eyepieces.
Insert the eyepiece into the diagonal mirror. The thumbscrew on the diagonal should tighten to hold the eyepiece in place, but still allow easy changes.
Step Seven: Removing the Dust Cap
Finally, remove the dust cap from the front of the telescope tube. Now your PowerSeeker 50az is fully assembled and ready to explore the cosmos!
Frequently Asked Questions
Is the Celestron PowerSeeker 50az easy to set up?
Yes, the 50az is one of the easiest telescopes to set up. It’s designed for beginners and has a very straightforward assembly process. No tools are required. Just follow the step-by-step instructions.
How long does it take to set up the 50az?
The entire assembly process takes around 10-15 minutes. Extending the tripod and attaching the accessory tray are the quickest steps. Mounting the optical tube and adding the finder scope take a bit more time. But overall it goes together quickly.
What if I get stuck during the setup process?
Don’t worry, it’s hard to mess up this assembly. Just take your time and double check each step. All of the parts fit together in a specific way. If you have any issues, follow my detailed tutorial above that walks through the entire process.
Do I need any tools to set up the 50az?
No tools are required! The only assembly steps involve loosening and tightening knobs or bolts by hand. No screwdrivers or other tools are needed to get your telescope ready to use.
Related guides:

Hey, my name is Jeremy. I’m a passionate and seasoned astronomer who loves nothing more than observing the night sky. I also love researching, learning, and writing all things Space and the Universe. I created Astronomy Scope to share my knowledge, experience, suggestions, and recommendations of what I have learned along the way while helping anyone to get into and maximize their enjoyment of the hobby.